|
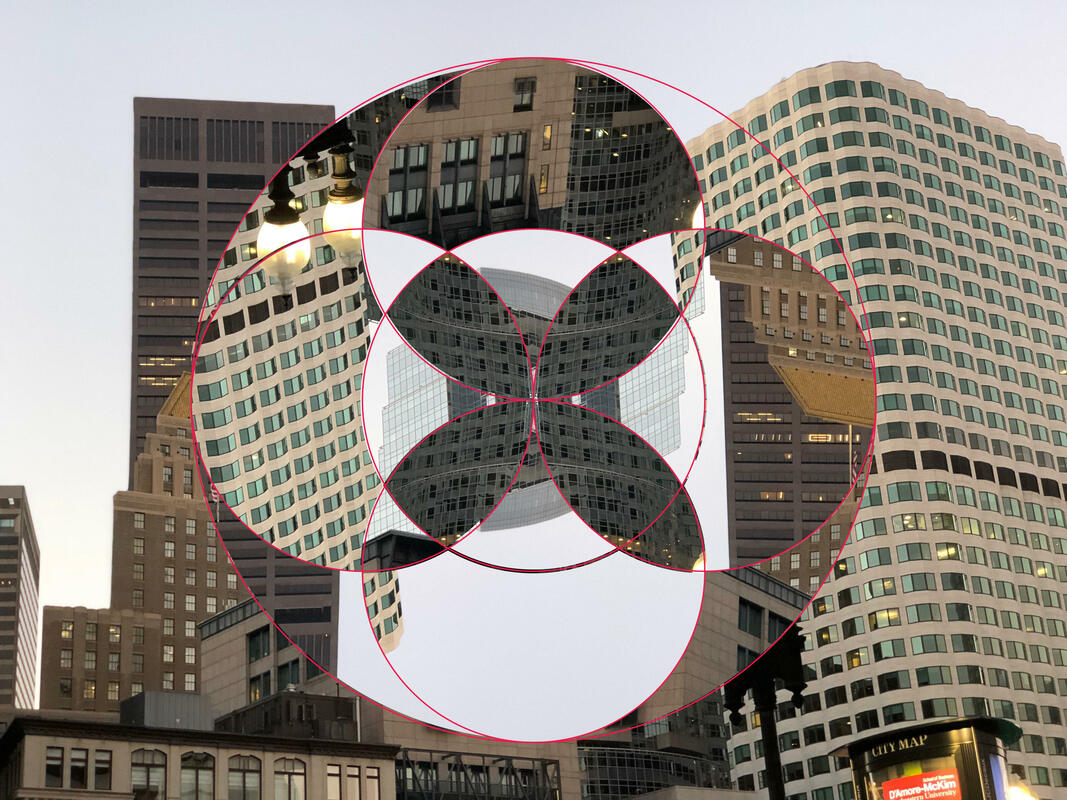
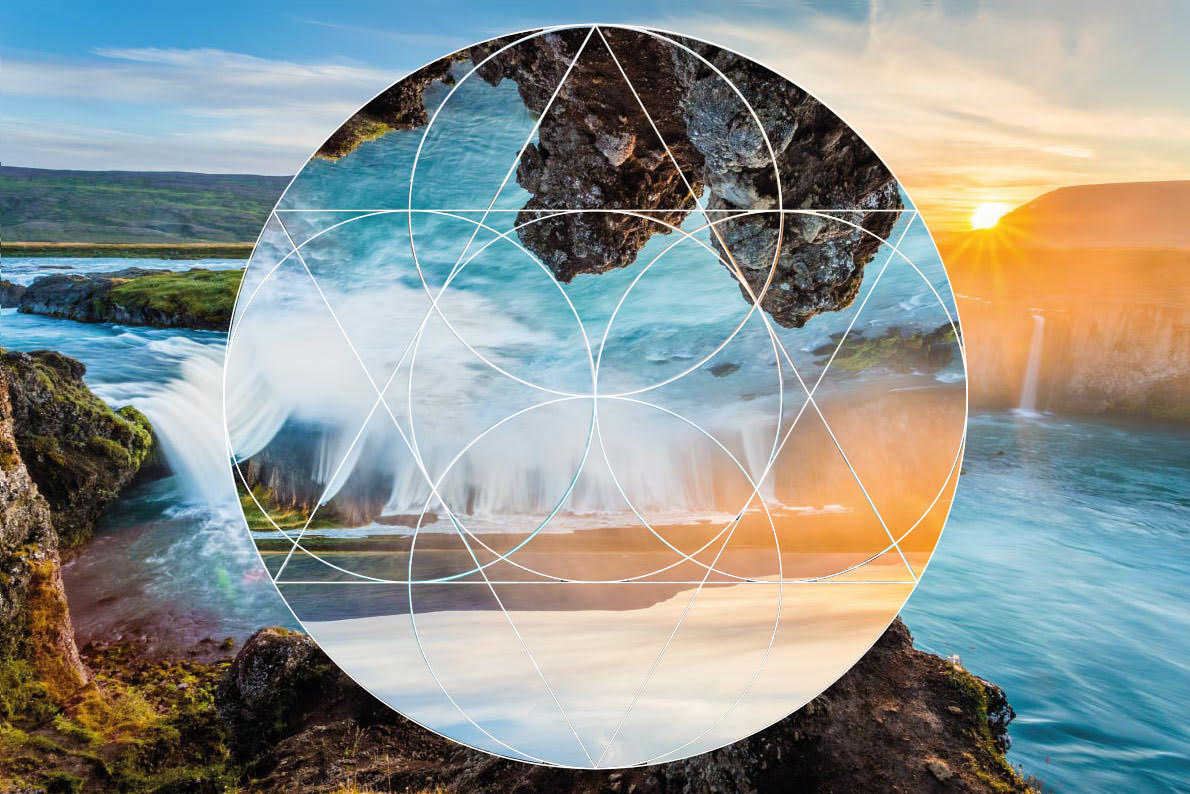
For this unit, we did photo collages in Illustrator and Photoshop. First we had to get our stencil outline in Illustrator. Then we had to import our image into photoshop, copy and paste our stencil as a smart object, and resize it without distorting the aspect ratio. We used the magic wand tool in this until and the regular move tool as well. To get different pieces in different spots on the stencil, you use the magic wand tool on the smart objects layer and select your desired section. Then you go to the background layer, switch to the move tool, and copy and paste to create a new layer with that section. You can flip the pieces vertically or horizontally to change the visual. The first photo I have is a photo I took in Boston right outside of South Station. The second image I got online because I thought it would be a very interesting visual to basically flip the focus of the image without completely "botching" the whole image. I thought the picture I took in Boston would be a great photo for this project because of the different textures on all the buildings. The one thing I struggled with most during this unit was keeping track of all the new layers made. If I had to find one specific piece of the stencil, I'd have to cycle through 40 different layers until I found the one I was looking for. Overall I had fun with this project even though it felt just a little repetitive in the actions to create it.
4 Comments
Sean
4/8/2019 10:49:37 am
I like the photo for the second one and how the parts that are moved, their colors, reflect off of the background.
JD
4/10/2019 10:51:41 am
I like how you put a lot of thought into the writing part on this post.
Khushi
4/10/2019 10:55:41 am
Both of these pictures are really pretty.
Morgan
4/10/2019 11:11:35 am
I absolutely love these edits especially the second one because the colors flow so nicely. Leave a Reply. |
AuthorMy name is Emily and I love to photograph animals and nature! Archives
May 2019
Categories |
 RSS Feed
